Week 13 (Design Phase): (9/12 - 9/18)
- Neil Bishop
- Sep 18, 2022
- 3 min read

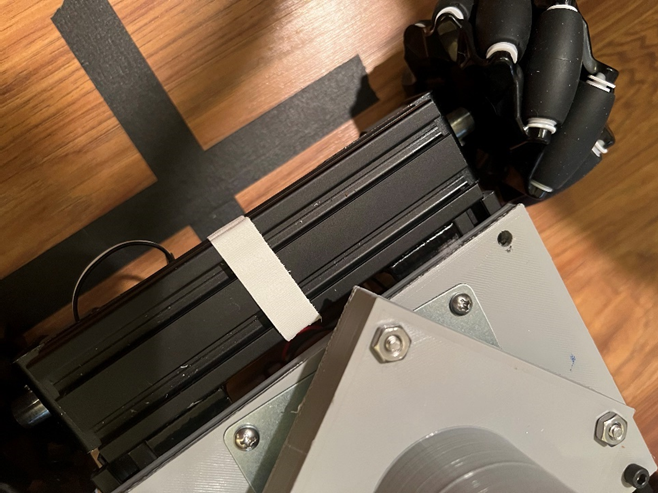
After Jacob and I tested the motors with the motor driver (L298N), I began programming the chassis with a test program to get a baseline functionality with the Arduino. In this program I only connected two motors to one single L298N just to get the front wheels functioning. I connected the inputs en1, en2, in1, in2, in3, and in4 of the L298N to the Arduino pins 9,3,8,7,5, and 4 respectively. Then I connected the power supply to the L298N and connected the outputs to the DC motors and grounded the L298N and supplied the 5V from the Arduino.
Programming DC motors with the Arduino is simply done using the functions digitalWrite() and analogWrite(). The H-bridge of the L298N requires two inputs that switch the direction of the voltage and therefore the direction of the wheels. This requires the digitalWrite() function to write a HIGH to one pin and a LOW to the other and vice-versa when the direction is needed to be switched. The analogWrite() function sends a PWM signal to the motor in order to control the speed.
Even though our test program will only contain two wheels, the program can easily be modified to add more wheels. To drive forward, the program must write to the motors and set the pins connected to the H-Bridge to apply a voltage that will make the wheels spin forward and vice-versa for reverse. To do this, I created a function called SetMotor() which takes in the particular motor, motor speed, the two inputs for the H-Bridge, and the motor direction as arguments and writes the appropriate signals to the L298N to choose the correct direction and its speed.

This function can now be used in a Forward, Backward, Left, Right function that when called will use the SetMotor() function to direct the wheels in the desired direction.

When these functions are called, they will set the motor in motion indefinitely until the H-Bridge signals are turned off completely or the speed is dropped down to 0. In our case, we will use the former and create a Stop() function that will set the H-Bridge signals to LOW.

Now we will put the functions in a setup similar to the servo logic with the Arduino listening for an indicator value through the Bluetooth serial communication. The indicator values 1-4 represent forward, backward, left, and right respectively and upon receiving this value the Arduino will then call the corresponding function. For example, if “1” is received by the Arduino, the Forward() function is called and then a delay is called to keep the motor in motion for a specific amount of time and then the Stop() function is called to stop the motor. In the future this might be changed to a more dynamic approach, but this is functioning properly and gives us time to work on another approach in the meantime.

Now that the logic is working for the wheels, I will now put it in the main program for the Arduino and update the GUI software to send the signals to the Arduino that correspond with the chassis movements.
Since the chassis movements are just values between 1-4, the functions are much simpler than the servo control. These functions use the write() method of the PySerial library but hardcoding the output to correspond with the particular movements.

Finally, these functions are called in the GUI button code as a function of the buttons.


Comments