Week 11-12: Aug 29th - Sept 11
- jhotlen0
- Sep 11, 2022
- 2 min read
This week, Jacob began printing the 3-D parts required for the assembly of the mechanical parts of the project and began to assemble the project. The first printed part was the arm motor mount for the up/down arm motor. The cad drawing of this part is shown below.

The motor fits into the square hole and is going to be super glued into place for the final project. The fill used in printing was 50% and the walls are 20mm thick. This gives the part more than enough strength to hold the motor and handle its torque. The circular hole at the bottom of the part fits around the PVC pipe being used for the arms. The printed part is pictured below attached to the pipe and holding the motor.

The next printed part is the arm mount. This is the piece that will hold the up/down arm and attach it to the motor itself. This piece was printed with 5mm thick walls to accommodate the screws for the motor mount. This makes this piece extremely strong and able to withstand more than the amount of torque the motor produces. The CAD drawing of this piece is shown below.

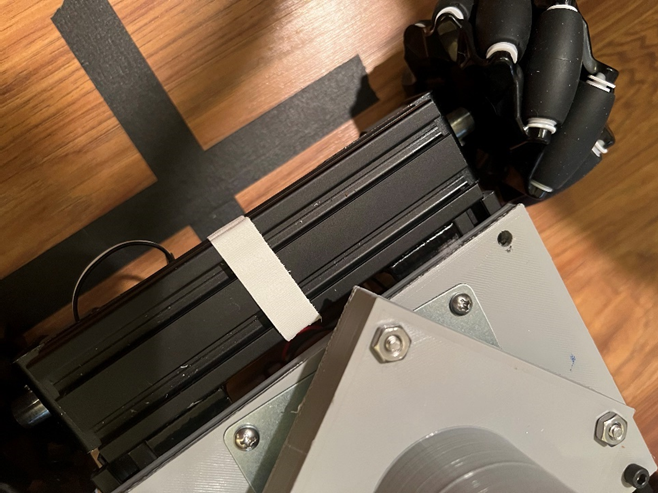
The flat section of this piece will attach to the motor via screws and a motor bracket. The circular hole will holed the PVC pipe for the up/down arm in place. Below, the piece is shown attached to the PVC pipe and the motor bracket is attached.

These two printed pieces allow the two arms of the project to attach in the necessary configuration to move the microphone in the up/down and rotational movements. The next step is to print the motor mount for the tilt and rotation motors and the chassis platform for the components to be housed in. A video below shows the up/down movement of the arm when assembled.

Comments